

To make this quilt you will need
- 8 fat quarters in your favourite designs
- 15x65" piece of fabric in any colour for sashing
- 50x65 piece of fabric for the backing
- Rotary cutter and mat
- Co-ordinating threads
- Scraps left from the FQ cutting
- Double fuse interfacing or a fusible web
To begin first cut 12 5" squares from each FQ. You should end up with 96 pieces. You will only need 91 of these.

Then slice each charm through the center to make two 2.5x5" pieces. I found the easiest way to do this was to lay two charms on top of each other and place two pairs onto your cutting mat


Mix all the fabrics up so you get a random mix when it comes to sewing. I found putting them into a container...or in my case a bag helped with the random process


For each row you will need 26 2.5x5" pieces so randomly select your pieces making sure you get an even mix of each colour. Lay them out and swap around the pieces until your happy with the design

Put them right sides together in pairs and then chain stitch each pair together using a 1/4" seam allowance. Clip each joining thread and lay your pieces back out in the design.


If like me you can't be bothered to get up to Iron each seam, use the flat edge of your rotary cutter to press each seam to one side.

After this chain stitch two pairs together so you get a row of 4 pieces...1 pair should be left during the process

Then pair up two rows of four joining the last pair to a set so you have two rows of 8 and one row of 10 pieces

Attach the two rows of 8 together then sew on the row of 10. So you end up with an entire row of 26 pieces. Press all seams to one side, this can be done using your iron =D
continue this method until you have 7 rows in total. Each time making sure you have an even selection of fabrics, unless you don't mind and end up with a few fabrics in each row matching across the width.
Once all rows are complete lay them out somewhere you have a large enough space. I used the banister...swap around the rows until you are happy with the arrangement.....unlike me try not to take an hour doing so.

Hang them in the correct order in your sewing room for easy access.
For the sashing cut your piece of fabric into 2.5x65" pieces


With right sides facing stitch a length of sashing to a row of fabric on the right side, then another row, sashing etc until all pieces are used up and all rows are joined together. Once complete press all pieces of sashing outwards.


It should if done correctly look something like this

As you can see a lot of my prints did match up side by side. Oh well it is a quilt just for me after all.
You can then back your quilt any way you like. Either piecing it together using various coloured fabrics. Using one solid colour. Applying an applique design.
For my quilt I chose a striped black fabric and used double fuse interfacing to apply my design.. I added this on before attaching it to the front of the quilt. I hemmed the backing first folding over by 1cm then again by 1cm to encase the raw edges. Using hemming web to hold it in place.

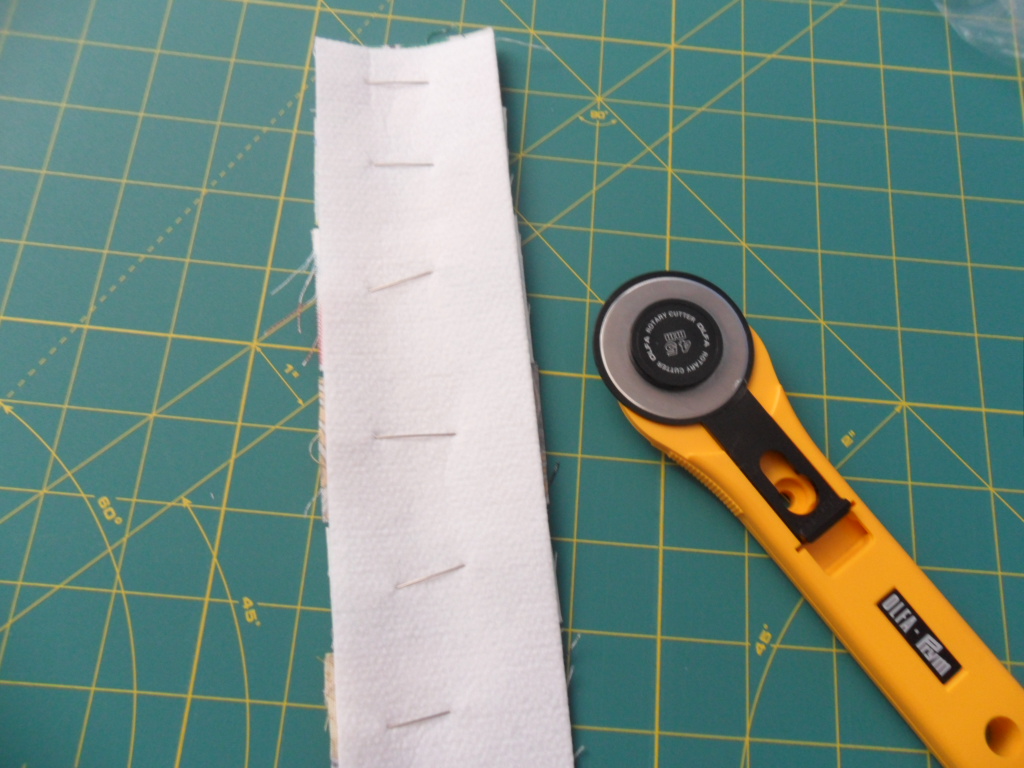
I sliced my extra charms in half then cut each 2.5x5" piece into various widths and pinned them to the interfacing. If using double sided interfacing it is rather stiff, so I would suggest using the fusible web instead


I played around with some designs before ironing them onto the fabric


I then pinned them in place and following the instructions on the paper fused them to the backing fabric

I left this to dry for a few minutes as a damp cloth is required.
I used the backing as the binding too as the fabric was large enough to fit over the front of the quilt. I pinned this in place and machine stitched around the edge.
There you have it a finished MAM quilt.

I haven't gotten round to quilting mine yet, but will post pictures when I eventually do =D
If you decided you want to make a quilt using this method please add pictures to my Flickr page
Cherie, what a nice tutorial and the quilt top is gorgeous.......I think with the black sashing it doesn't matter that you have some of the pieces matching. Love it!
ReplyDeleteGreat quilt. Thanks for linking up.
ReplyDelete